
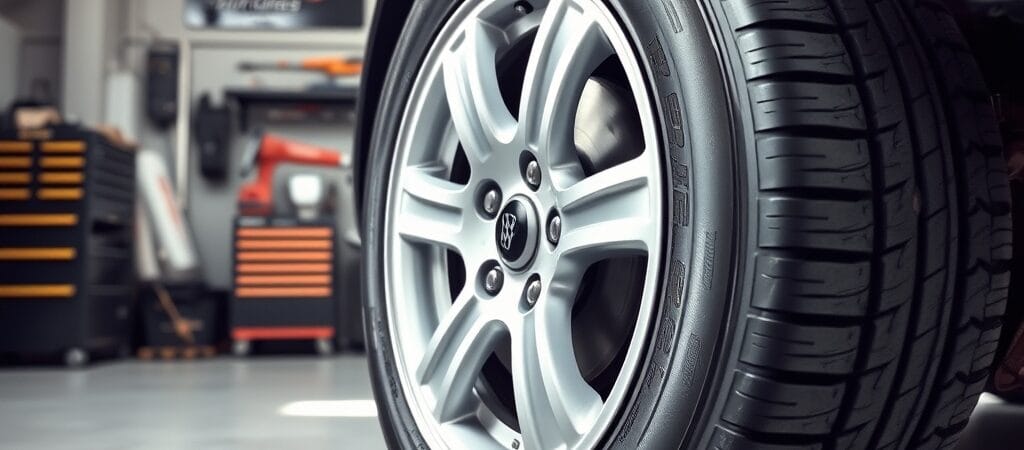
If you suspect tire vibration, the first step is to determine whether the vibration actually originates from a tire or wheel assembly. Speed-related vibration can result from imbalance, tire damage or deformation, excessive tire or wheel runout, improper wheel installation, or other vehicle problems that can feel similar.
This guide explains how to diagnose tire vibration systematically by documenting when the vibration occurs, inspecting the tires and wheels, checking balance and runout, and ruling out steering, suspension, brake or driveline faults before replacing parts.
How to Diagnose Tire Vibration
Diagnosing tire vibration requires more than balancing the wheels automatically. First establish when the vibration occurs and where it is felt. Then inspect the tire and wheel assemblies before moving to measurements and equipment-based testing.
The goal is to determine whether a tire or wheel is actually responsible and identify the condition causing the vibration before repair or replacement.
Observations That Help Identify Tire/Wheel Vibration
Before testing components, document the conditions under which the vibration occurs:
- Speed-related vibration: Tire/wheel imbalance, runout or deformation may become more noticeable within particular road-speed ranges.
- Steering-wheel vibration: This can suggest greater influence from the front of the vehicle, but it does not prove that a front tire is defective.
- Seat or body vibration: This may indicate vibration being transmitted from another part of the vehicle and does not by itself identify a specific wheel.
- Vibration during braking / Car Shakes When Braking: A symptom occurring primarily during braking requires brake-system diagnosis rather than automatically being classified as tire vibration.
- Vibration during acceleration or under load: Driveline, mounting or other load-related faults may need consideration.
- Abnormal tire wear: Uneven wear can provide useful evidence about inflation, alignment, suspension or tire-condition problems.
This distinction is important because several non-tire faults can feel similar from the driver’s seat.
Conditions That Can Produce or Resemble Tire Vibration
Possible findings include:
- Tire/wheel imbalance: Uneven mass distribution can produce speed-related vibration.
- Tire damage or deformation: Bulges, internal structural problems, irregular wear or excessive radial/lateral tire runout can produce vibration.
- Bent or damaged wheels: Wheel runout or damage can create vibration even after balancing.
- Improper wheel installation or hub conditions: Incorrect mounting, contamination, corrosion or damaged mating surfaces can contribute to runout or vibration.
- Uneven tire wear: Alignment, inflation, suspension or other conditions can create wear patterns that contribute to vibration.
- Steering, suspension or wheel-bearing problems: Looseness or damage can produce symptoms that resemble tire vibration.
- Brake or driveline faults: If vibration is strongly associated with braking or acceleration rather than steady-speed driving, diagnosis should follow those systems instead.
A list of possible causes should guide testing—not determine which component should be replaced.
Step 1: Verify When the Vibration Occurs
Before inspecting parts, establish the operating conditions that produce the vibration.
Determine:
- whether it appears only within a particular speed range;
- whether it changes during acceleration or deceleration;
- whether braking triggers or changes it;
- whether it is felt primarily through the steering wheel, seat or body;
- whether it changes with road surface;
- whether tires or wheels were recently rotated, replaced or removed;
- whether the vehicle recently struck a pothole, curb or other road hazard.
These observations help determine whether tire/wheel diagnosis should remain the primary direction or whether another system requires investigation.
Safety Before Road Testing
Inspect the tires and wheels before attempting to reproduce a significant vibration.
Do not continue road testing if a tire has a visible bulge, exposed cords, substantial damage or rapid pressure loss, or if a wheel appears loose or severely damaged. Severe vibration, abnormal handling, grinding or significant steering/suspension looseness also warrants inspection before further driving.
Never deliberately exceed a safe or legal road speed to reproduce a vibration.
Inspecting for Simple Causes of Vibration
The first step in diagnosing tire issues should involve checking for simple and visible problems.
Step 2: Check Tire Inflation
Check tire pressure when appropriate using a reliable gauge and compare it with the vehicle manufacturer’s specified cold inflation pressure, commonly shown on the vehicle tire-information placard or in the owner’s manual.
Do not use the tire sidewall’s maximum pressure marking as the normal vehicle inflation specification.
Correct significant pressure differences and investigate unexplained pressure loss before continuing diagnosis.
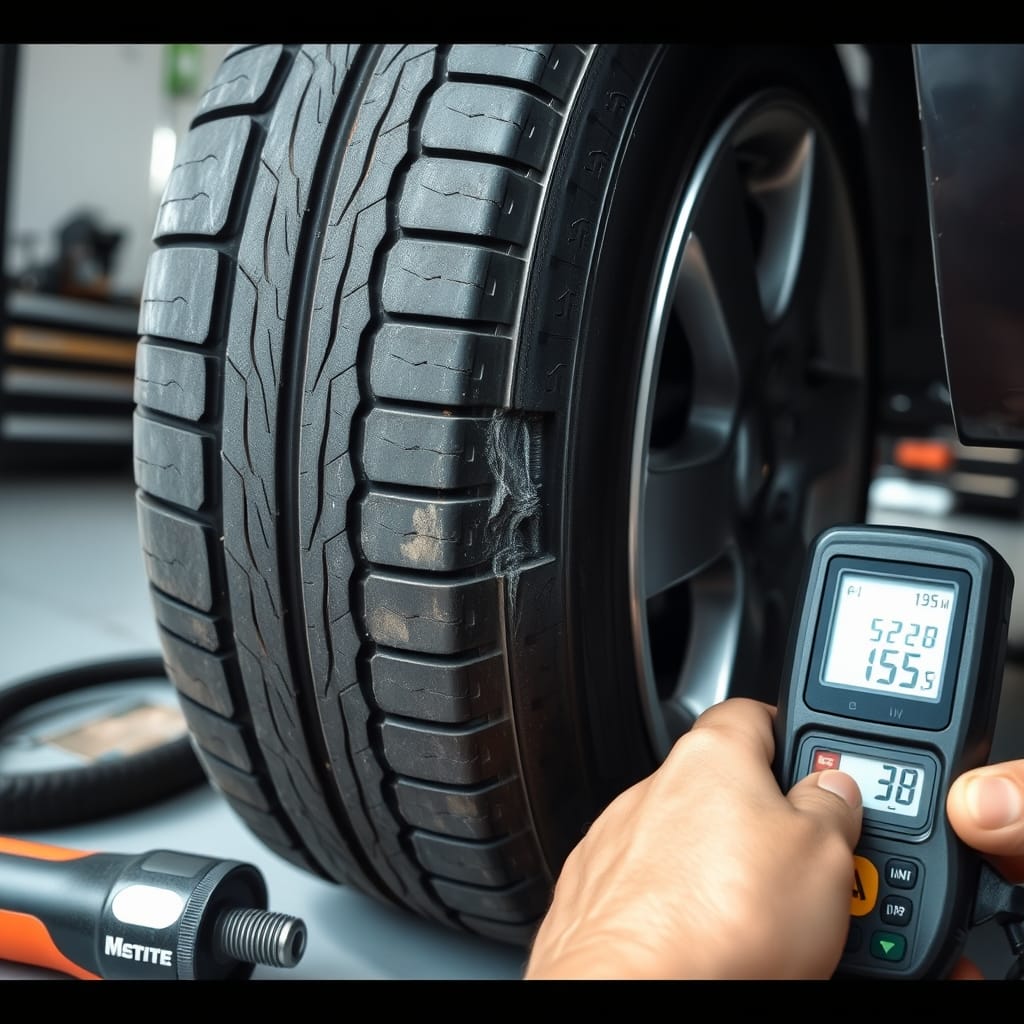
Step 3: Inspect the Tires and Wheels
Inspect each accessible tire and wheel for:
- cuts, bulges, exposed cords or other tire damage;
- embedded objects or evidence of pressure loss;
- irregular or severe tread wear;
- visible tire deformation;
- bent, cracked or otherwise damaged wheels;
- missing balance weights where evident;
- obvious wheel-mounting problems.
A visual inspection cannot identify every internal tire defect or runout condition, so continue with appropriate testing when no obvious fault is found.
Step 4: Consider Tire Position Only When Appropriate
A change in vibration after tires are repositioned can sometimes provide diagnostic information, but tire movement must be compatible with the vehicle’s tire sizes, directional markings, rotation pattern and manufacturer requirements.
Do not reposition a visibly damaged or unsafe tire simply as a diagnostic experiment. If tire position is used diagnostically, document the original positions and evaluate whether the vibration characteristics change afterward.
Step 5: Check Tire/Wheel Balance
Use suitable wheel-balancing equipment to evaluate the tire-and-wheel assemblies. A road-force-capable balancer may provide additional information where appropriate, but the equipment and procedure used should match the diagnostic need.
A successful balance does not prove that the tire and wheel assembly is free of defects. A tire or wheel can have excessive runout or structural irregularity while still being balanced.
Step 6: Check Tire and Wheel Runout
If balance is correct but vibration remains, inspect for excessive radial or lateral runout according to vehicle, tire and wheel service procedures.
Runout can originate from the tire, wheel, mounting surfaces or hub. Separating these possibilities may require measurements and repositioning or other service-information procedures.
Do not assume that adding more balance weight will correct a runout problem.
Inspecting Suspension and Wheel Components
If the tires and balance are in good condition, inspecting suspension and associated components is crucial.
Step 7: Evaluate Alignment When the Evidence Supports It
Wheel alignment problems commonly cause steering pull, abnormal steering behavior or uneven tire wear. Alignment alone should not automatically be diagnosed as the cause of a speed-related vibration.
If tire wear patterns, steering behavior, recent suspension work or other evidence suggests an alignment problem, measure the alignment and compare the results with the vehicle manufacturer’s specifications.
Step 8: Rule Out Steering, Suspension and Wheel-Bearing Problems
If tire and wheel checks do not explain the vibration, inspect relevant steering, suspension and wheel-bearing components according to vehicle-specific procedures.
Look for damage or excessive looseness where applicable. Shocks and struts can affect wheel control and tire wear, but they should not automatically be replaced simply because a vibration is present.
Repair only faults supported by inspection or measurement.
Step 9: Inspect Wheel and Hub Mounting
Check wheel and hub mating surfaces where indicated. Corrosion, debris, damage or improper seating can contribute to runout.
If wheels have been removed, reinstall them using the vehicle manufacturer’s specified tightening sequence and torque. Never diagnose a vibration simply by tightening wheel fasteners beyond specification.
Step 10: Verify the Diagnosis Safely
After correcting a confirmed fault and ensuring the vehicle is safe to drive, reproduce the original conditions only at an appropriate and legal road speed.
Determine whether the vibration has disappeared, decreased, changed location or remains unchanged. A changed symptom can provide additional diagnostic information; it does not automatically prove that every underlying problem has been corrected.
If significant vibration remains, continue diagnosis rather than replacing additional components by trial and error.
Repair Only the Confirmed Cause
The appropriate repair depends on the diagnostic findings. A confirmed imbalance may require balancing, while tire damage, excessive runout, a damaged wheel, mounting problems or steering/suspension faults require repairs specific to those conditions.
Do not replace tires, perform an alignment or replace suspension components solely because vibration is present.
After the repair, verify wheel installation where applicable and confirm that the original vibration has been resolved safely.
Reducing Future Tire and Wheel Problems
Useful practices include:
- Check tire pressure periodically and before appropriate long trips.
- Inspect tires for damage and abnormal wear.
- Follow the vehicle manufacturer’s tire-rotation guidance where applicable.
- Have balance checked when symptoms, tire service or other evidence indicates it is necessary.
- Check alignment when abnormal tire wear, steering pull, suspension work or impact-related concerns justify it.
- Follow vehicle and tire manufacturer guidance for tire inspection, service and replacement.
Frequently Asked Questions
What commonly causes tire-related vibration?
Possible causes include tire/wheel imbalance, tire deformation or damage, excessive runout, damaged wheels and wheel-to-hub mounting problems. Other vehicle faults can produce similar symptoms.
Does vibration at a certain speed mean the tires are unbalanced?
Not necessarily. Imbalance can produce speed-related vibration, but tire or wheel runout, tire defects, wheel damage and other mechanical problems can produce similar symptoms.
Can wheel alignment cause tire vibration?
Alignment problems commonly contribute to uneven tire wear and steering problems. Alignment alone should not automatically be blamed for speed-related vibration, although abnormal wear resulting from alignment problems may contribute.
Can a balanced tire still cause vibration?
Yes. An assembly may balance successfully yet still have excessive runout, tire deformation or another structural problem that produces vibration.
Is it safe to drive with tire vibration?
It depends on the cause and severity. Do not continue driving if a tire is visibly damaged, rapidly losing pressure, the vibration is severe, handling is abnormal or a wheel or steering/suspension problem is suspected.
Should I replace a tire just because vibration moves after rotation?
No. A change after repositioning can provide a diagnostic clue, but inspect and test the tire/wheel assembly before deciding that replacement is necessary.
Final Checks
To diagnose tire vibration accurately, first document when and where the vibration occurs, then inspect tire pressure, tire condition, wheels and mounting. Check balance and runout when appropriate and rule out steering, suspension, wheel-bearing, brake or driveline faults when the evidence points away from the tires.
Do not replace components based on vibration alone. Confirm the fault through inspection or measurement, repair the identified cause and verify the result under safe driving conditions.