
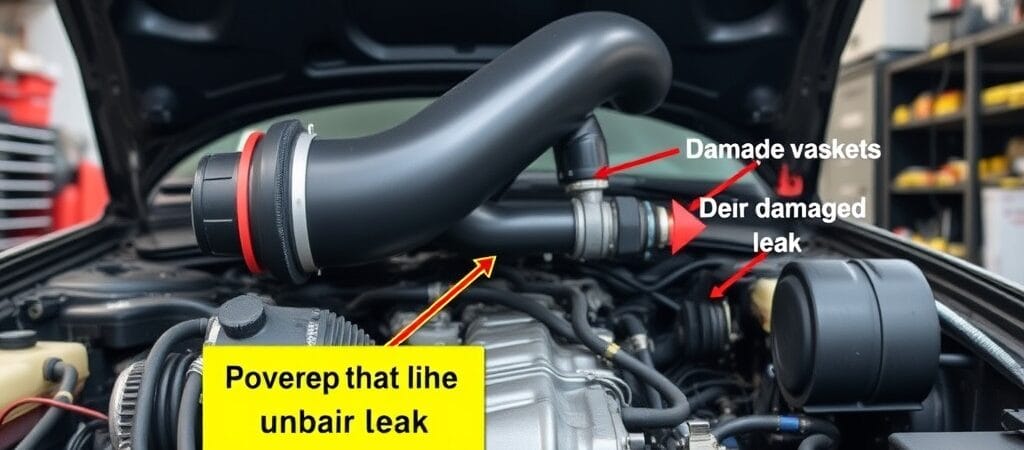
If you’re facing engine troubles, a vacuum leak could be the culprit. This issue occurs when the air intake system allows unmetered air to enter the engine, disrupting performance. In this article, you’ll learn how to find vacuum leaks by understanding their symptoms, common causes, and diagnostic techniques. Remember, while the presence of a vacuum leak can indicate a problem, it doesn’t confirm which component has failed, making diagnosis essential to effective repair.
What You Need to Know About Vacuum Leaks
Vacuum leaks happen when the air intake system allows air to enter the engine without passing through the intake manifold and throttle body. These leaks can significantly affect engine performance, causing poor fuel efficiency, increased emissions, and erratic engine behavior. It’s important to identify and resolve vacuum leaks to keep your vehicle running optimally.
Definition and Effects on Engine Performance
A vacuum leak disrupts the air-fuel mixture, creating an imbalance that can cause the engine to run lean. This condition occurs when there’s more air than fuel in the combustion chamber, leading to issues such as rough idling, misfiring, and stalling. Over time, running under these conditions can result in further engine damage.
Signs of Vacuum Leaks
Common signs of a vacuum leak include:
- Rough idling or fluctuating RPMs
- Increased engine noise, particularly a hissing sound
- Poor acceleration or hesitation while accelerating
- Check engine light illumination, often accompanied by diagnostic trouble codes related to the engine’s air-fuel ratio
- Decreased fuel efficiency
Noticing these symptoms may indicate the presence of a vacuum leak, warranting further investigation.
Typical Causes of Vacuum Leaks
Several factors can lead to the occurrence of vacuum leaks in an engine system.
Cracked or Worn Vacuum Hoses
Vacuum hoses can develop cracks and wear over time, especially in older vehicles. If a hose is damaged, air may circumvent the intended pathways, leading to the aforementioned symptoms. Conducting a thorough inspection of the hoses can help identify any physical damage.
Loose or Disconnected Vacuum Connections
Connections between hoses and components may loosen due to vibration or thermal expansion. Check for any loose fittings or disconnected hoses that could allow air to enter. Even a slightly loose connection can result in a significant leak.
Failed Intake Manifold Gasket
The intake manifold gasket seals the intake manifold to the engine. If this gasket fails, it can allow air to enter the engine beyond the throttle body. Symptoms from a failed gasket often resemble those caused by damaged hoses or connections.
Defective PCV Valves or Hoses
Positive Crankcase Ventilation (PCV) systems regulate engine pressure and emissions. A malfunctioning PCV valve or a damaged hose can create a vacuum leak. Checking the PCV system for proper function is essential in diagnosing this potential issue.
Worn Injector Seals and Throttle Body Gasket Issues
Injector seals create a vacuum seal at the fuel injectors and can wear out over time. Additionally, the throttle body gasket may deteriorate, leading to leaks. Evaluate both areas if other sources of vacuum leaks are ruled out.
How to Diagnose Vacuum Leaks
Before conducting advanced diagnostics, some initial checks can provide valuable insights.
Visual Inspection of Vacuum Lines
Start with a detailed visual inspection of all vacuum lines and connections. Look for cracks, swellings, or signs of wear. Pay close attention to any lines that may be hard to reach to ensure that all potential issues are thoroughly examined.
Listening for Hissing Sounds
Listen for hissing noises while the engine runs. If a leak is present, it often produces a distinct sound that can help you locate the source. A hose or stethoscope can help you detect these sounds more effectively while inspecting the engine.
Advanced Diagnostic Techniques
If initial checks do not confirm a leak, consider using more advanced methods.
Smoke Test as the Preferred Leak-Detection Method
When a visual inspection does not reveal the source, a smoke test is one of the most useful ways to locate an intake or vacuum leak. With the engine off, an appropriate smoke machine introduces low-pressure smoke into the system. Smoke escaping from a hose, connection, gasket, or seal can help identify the leak location. Follow the equipment instructions and the vehicle manufacturer’s diagnostic procedures, because test points and pressure limits can vary by vehicle.
Important: Do not spray carburetor cleaner, starting fluid, or other flammable products around a running engine to search for vacuum leaks. These products can ignite if they contact hot components or an ignition source.
Smoke Test for Leak Detection
A smoke test introduces smoke into the intake system to help visualize leaks. This method effectively identifies the exact location of a vacuum leak, making it especially useful for complex systems. Professional equipment is often necessary for this diagnostic technique.
Using a Vacuum Gauge as a Diagnostic Aid
A vacuum gauge can help identify abnormal intake-manifold vacuum readings or patterns that may support suspicion of a vacuum leak, but it usually cannot identify the exact leak location by itself. Connect and interpret the gauge according to the vehicle manufacturer’s procedures, because normal readings vary with engine design, operating conditions, altitude, and test location. If the readings suggest a possible leak, use further inspection or an appropriate smoke test to locate and confirm the source before replacing components.
Fixing Vacuum Leaks
Once a leak is identified, appropriate repairs can restore engine functionality.
Replacing Confirmed Leaking Hoses, Seals, or Gaskets
Replace a hose, seal, or gasket only after inspection or testing confirms that it is leaking or damaged. Use parts that meet the vehicle manufacturer’s specifications and follow the applicable installation procedure. After the repair, recheck the system using the appropriate diagnostic method to verify that the leak has been eliminated and that the original symptoms have improved.
Securing and Verifying Connections
After completing a repair, verify that all hoses, fittings, clamps, and connectors are properly seated and secured according to the vehicle manufacturer’s design. Do not add clamps or modify connections unless the repair procedure calls for them. Reinspect the repaired area and confirm that no vacuum leak remains.
Important Safety Precautions During Diagnosis and Repair
Taking safety precautions is critical during diagnostic procedures and repairs.
Work Safely Around the Engine
Keep hands, clothing, tools, and test equipment away from belts, pulleys, fans, and other moving or hot components when inspecting a running engine. Work in a well-ventilated area, keep ignition sources and flammable materials away from the engine bay, and follow the safety instructions for any diagnostic equipment being used.
Use Personal Protective Equipment
Wear personal protective equipment (PPE) such as safety glasses and gloves to protect against chemicals and sharp parts during inspections and repairs.
Vehicle-Specific Considerations for Diagnosing Vacuum Leaks
Recognizing that vehicle configurations can differ is essential for accurate diagnosis.
Refer to Manufacturer Guidelines
Always consult the manufacturer-specific guidelines for your vehicle model. These documents provide important information on vacuum line configurations, aiding in the diagnostic process.
Variations in Vacuum Line Configurations
Different models may have unique vacuum systems, meaning that procedures applicable to one vehicle may not work for another. Familiarizing yourself with your specific vehicle’s layout can lead to a more effective troubleshooting process.

Frequently Asked Questions
What are the symptoms of a vacuum leak?
Common symptoms include rough idling, increased engine noise (often a hissing sound), poor acceleration, check engine light activation, and decreased fuel efficiency.
What causes vacuum leaks?
Vacuum leaks can result from cracked or damaged vacuum hoses, loose connections, intake manifold gasket failure, faulty PCV valves or hoses, and injector seal or throttle body gasket issues.
How can I diagnose a vacuum leak?
Start by visually inspecting vacuum hoses, connections, and other accessible intake-system components for damage or disconnection, and listen for unusual hissing with the engine running when it is safe to do so. If the source is not apparent, an appropriate smoke test can help locate the leak. A vacuum gauge may provide additional diagnostic information but usually cannot identify the exact leak location by itself. Follow vehicle-specific service information when performing further tests.
Can I still drive a vehicle with a vacuum leak?
It depends on the severity of the leak and the vehicle’s symptoms. A small leak may cause only a rough idle or check engine light, while a larger leak can cause stalling, severe hesitation, or other drivability problems. If the engine stalls, runs very poorly, or the vehicle cannot be driven safely, avoid driving it until the problem is diagnosed. Even with mild symptoms, have the fault diagnosed promptly rather than continuing to drive indefinitely.
What safety precautions should I take when checking for vacuum leaks?
Use personal protective equipment such as safety glasses and gloves, and ensure good ventilation when working to avoid flammable materials.
Final Checks
If a vacuum leak is suspected, use a logical diagnostic process to confirm whether a leak is actually present and locate its source. Start with visual and listening checks, then use an appropriate smoke test or other vehicle-specific diagnostic procedure when necessary. Do not replace hoses, gaskets, valves, or other components based on symptoms alone. After any repair, verify that the leak is no longer present and confirm that the original symptoms have improved. If the source cannot be identified confidently, professional diagnosis may be appropriate.