

If you’re experiencing issues with your vehicle’s electrical system, knowing how to test an alternator is crucial. The alternator generates power, keeping your battery charged and supplying energy to various electrical components. This article will guide you through the steps to diagnose potential alternator problems, highlighting key symptoms and testing methods. Remember, a trouble code or symptom does not necessarily mean the alternator is faulty; proper diagnostics are essential.
Alternator Functions and Symptoms
The alternator is a vital component of a vehicle’s electrical system. It generates electricity, charges the battery, and powers the vehicle’s electrical components while the engine runs. Understanding how the alternator works can help you identify potential issues.
Role of the Alternator in Vehicle Electrical Systems
The alternator converts mechanical energy from the engine into electrical energy. This process not only keeps the battery charged but also ensures that essential systems, such as lights, radio, and climate control, have a steady power supply. A malfunctioning alternator could lead to electrical failures and possible breakdowns.
Symptoms of a Failing Alternator
Several signs may indicate a failing alternator. These can include:
- Dimming or flickering dashboard lights
- Illuminated warning lights on the dashboard, such as the battery light
- Difficulty starting the vehicle or an engine that stalls
- Malfunctioning electrical accessories
- A burning smell, which may indicate overheating or electrical issues
Recognizing these symptoms early can help prevent further complications and potential breakdowns.
Verifying the Initial Complaint
Before conducting tests, it’s crucial to verify the initial complaint. Understanding the symptoms can guide your diagnostic process.
Gathering Information from the Vehicle Owner
Engage with the vehicle owner to collect detailed information about when the issues occur. This can help identify patterns, such as whether symptoms arise at idle or under specific electrical loads. Inquire about recent repairs or incidents that may have affected the alternator.
Visual Inspection Checklist
Perform a visual inspection to rule out obvious problems. A checklist may include:
- Checking for loose or disconnected battery terminals
- Inspecting the alternator for physical damage
- Looking for corrosion on electrical connections
- Ensuring the drive belt is properly in place and intact
This initial inspection can help pinpoint issues that may be resolved before proceeding with more in-depth diagnostics.
Conducting Visual Inspections
A comprehensive visual inspection can reveal visible issues that affect the alternator’s performance.
Assessing Drive Belt Condition and Tension
The drive belt connects the engine to the alternator. Check its condition for wear, such as cracks or fraying. Also, ensure that the belt has the correct tension; a loose belt may not turn the alternator effectively, resulting in insufficient charging. Adjust or replace the belt as needed.
Inspecting Wiring and Connections
Examine wiring for damage, loose connections, or corrosion at the alternator terminals and battery. Make sure no wires are pinched or frayed, as these issues can cause voltage drops or poor connectivity. Repair or replace any faulty wiring as necessary.
Using Diagnostic Tools
Employing the right diagnostic tools is crucial for accurately testing the alternator.
Checking for OBD-II Trouble Codes
Use an OBD-II scanner to search for trouble codes that may indicate electrical problems. Look for codes related to the charging system or battery. These codes can provide valuable insights into specific issues that need to be addressed, even if the check engine light is off.
Introduction to Multimeter Testing
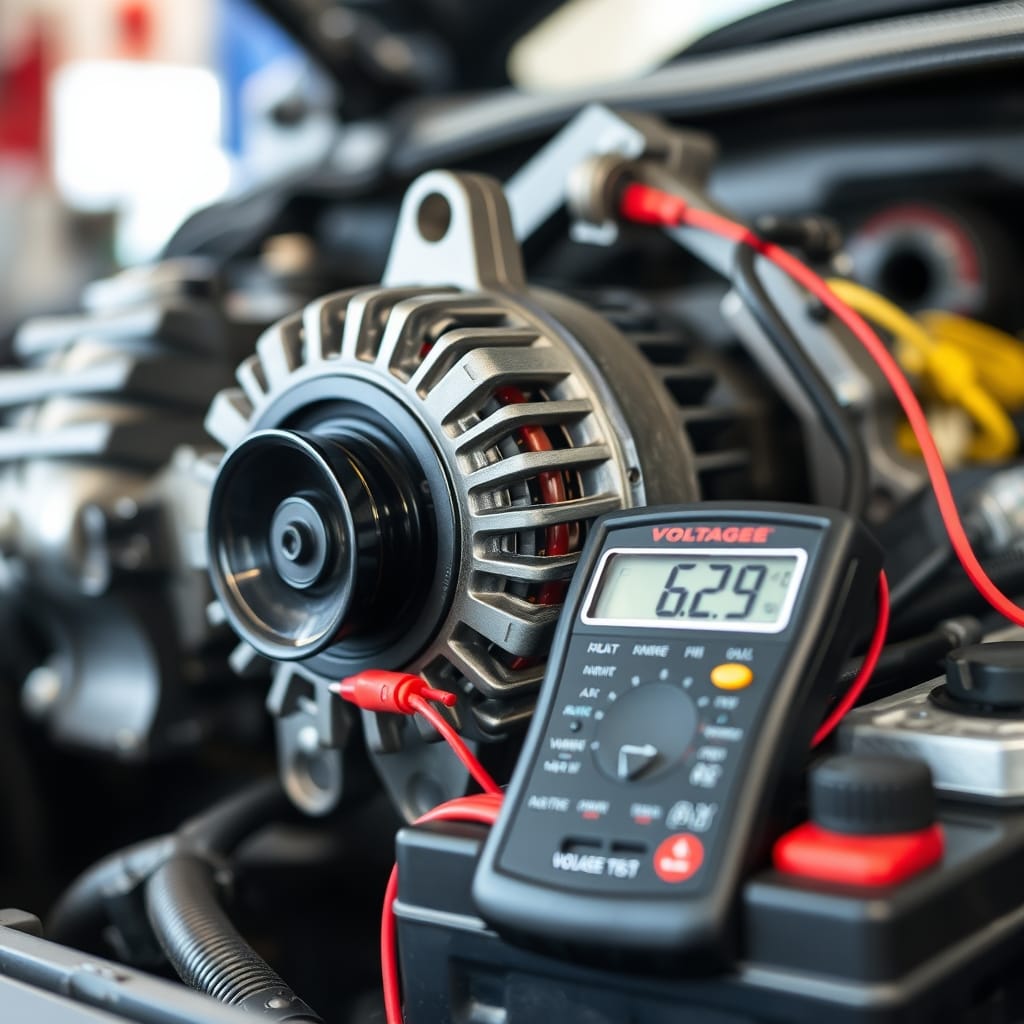
A multimeter is a key tool for testing the alternator. It measures voltage, current, and resistance, providing detailed information about the charging system’s performance. Become familiar with the multimeter’s functions and settings before using it.
Performing the Multimeter Voltage Test
A voltage test can help determine if the alternator is functioning correctly.
Measuring Voltage at the Battery Terminals
Start the vehicle and use the multimeter to measure the voltage at the battery terminals. A healthy alternator typically produces a voltage between 13.7 and 14.7 volts with the engine running. If the voltage is significantly lower or higher, this may indicate a problem with the alternator.
Interpreting Voltage Readings
A low voltage reading suggests that the alternator is not charging the battery adequately. Conversely, a reading significantly above 14.7 volts could signal a voltage regulator issue. Compare your findings with vehicle-specific information, as acceptable voltage ranges can vary by make and model.
Load Testing the Alternator
Load testing verifies whether the alternator can meet the vehicle’s electrical demands.
Significance of Load Testing
Load testing checks if the alternator maintains adequate voltage under load, simulating real driving conditions. This test can confirm whether the alternator can effectively power accessories like headlights and the heater.
Performing a Load Test with Specialized Equipment
Connect a load tester to the battery and apply a load that reflects the vehicle’s typical power usage. Monitor the voltage during the load application. The voltage should remain above 13.0 volts for the alternator to be considered functional.
Advanced Testing Methods
If issues persist, more advanced testing may be needed to diagnose the alternator.
Listening for Mechanical Failures
While the engine runs, listen for unusual sounds from the alternator, such as grinding or whining. These noises may indicate a mechanical failure or internal issue, such as bearing wear or rotor misalignment.
Bench Testing the Alternator at an Auto Parts Store
Some auto parts stores offer bench testing services. Remove the alternator and take it to the store, where technicians can test it under controlled conditions. This test can help confirm whether the alternator is faulty, independent of the vehicle’s system.
Repair Considerations
After completing diagnostic testing, consider appropriate repair options.
When to Replace the Alternator
Replacing the alternator may be necessary if testing confirms it is faulty and no repair options are viable. Factors influencing this decision include the alternator’s age, repair costs compared to replacement, and whether other components are suspect.
Importance of Checking Connections After Repairs
After replacing or repairing the alternator, it’s important to check all connections and wiring again. Ensure everything is secure and free of corrosion to avoid future issues. Conduct a quick check on the vehicle to confirm that no warning lights remain illuminated post-repair.
Safety Guidelines for Alternator Testing
Prioritizing safety is essential during vehicle diagnostics and repairs.
Working in a Safe Environment
Work in a well-ventilated area with adequate lighting. Ensure the vehicle is securely parked and engage the parking brake to prevent rolling.
Proper Use of Tools and Safety Gear
Wear safety glasses and gloves when working with electrical components to protect against shocks or injuries. Use appropriate tools and follow manufacturer guidelines for added safety.
Vehicle-Specific Considerations for Testing Procedures
Always refer to the specific vehicle service manual for detailed alternator testing procedures and specifications. This ensures that the diagnostic steps comply with the manufacturer’s recommendations, as designs can vary significantly across vehicles.
Frequently Asked Questions
What are the symptoms of a failing alternator?
Common symptoms include dimming dashboard lights, warning lights on the dashboard, difficulty starting the vehicle, and electrical accessories malfunctioning.
How can I perform a voltage test on the alternator?
Start the vehicle and use a multimeter to measure the voltage at the battery terminals. A healthy alternator should produce 13.7 to 14.7 volts while running.
What is load testing and why is it important?
Load testing checks if the alternator can maintain adequate voltage under load, simulating real driving conditions to ensure it can power necessary accessories.
Can I test the alternator at an auto parts store?
Yes, many auto parts stores offer bench testing services where you can bring the alternator for testing under controlled conditions.
What should I do if the alternator is confirmed faulty?
If the alternator is faulty, replacement may be necessary, considering factors like age and cost of repairs versus replacement.
Final Checks
Testing an alternator is vital for ensuring your vehicle’s electrical system functions correctly. By monitoring symptoms and performing both visual inspections and diagnostic tests, you can effectively identify alternator issues. Always verify faulty components with thorough diagnostics before replacing any parts. If you’re uncertain or the problem persists, seeking professional assistance may be the safest and most effective course of action.