

When a warning light appears, retrieving diagnostic trouble codes (DTCs) can be an important first step in understanding what the vehicle’s control systems have detected. OBD-II codes identify monitored conditions, circuits, systems, or performance problems, but they do not automatically identify the failed component. The same code can have several possible causes, and one underlying fault can sometimes contribute to multiple codes. This guide explains how to read OBD2 codes, preserve useful diagnostic information, interpret what the codes actually report, and use them to plan the next diagnostic steps before replacing parts.
How to Read OBD-II Codes and Their Purpose
Reading OBD-II codes is essential for diagnosing vehicle issues. These codes relay information about problems detected by the vehicle’s onboard computer. Knowing how to read OBD-II codes enables more targeted repairs and helps maintain your vehicle’s health.
What OBD-II Codes Indicate
An OBD-II diagnostic trouble code identifies a condition detected by a vehicle control system. Depending on the code, it may describe a circuit condition, sensor-signal problem, system performance issue, misfire, emissions-monitor result, or another monitored fault. The component named in a code description is not necessarily the component that failed.
The first character identifies the general code family: P for powertrain, B for body, C for chassis, and U for network communication. The remaining characters provide additional information about the code category and fault. Some DTCs are standardized across manufacturers, while others are manufacturer-specific. Use reliable vehicle-specific service information when interpreting codes beyond their basic definition.
Severity and Safety Implications
A DTC by itself does not always tell you how safely the vehicle can be driven. Evaluate the code together with warning-light behavior and actual symptoms. A flashing Check Engine light on many vehicles can indicate a severe misfire condition requiring prompt attention, while other stored codes may produce little noticeable change in drivability. Brake, steering, temperature, oil-pressure, charging, or other critical warnings may require a different response than an ordinary emissions-related DTC.
If the vehicle is overheating, losing oil pressure, running severely poorly, producing abnormal smoke or odors, losing braking or steering assistance, or otherwise cannot be driven safely, stop driving when it is safe to do so and investigate the underlying condition. Consult the owner’s manual for vehicle-specific warning-light guidance.
Why OBD-II Codes Are Set
OBD-II codes can be stored for many different reasons, depending on the system and monitor involved. Instead of assuming that every code has a simple or serious cause, start by understanding exactly what the code reports.
Circuit and Electrical Conditions
Some codes relate to voltage, current, continuity, signal plausibility, power, ground, or communication problems. Possible causes may include wiring, connectors, terminals, power supplies, grounds, control modules, sensors, actuators, or other circuit-specific conditions.
System Performance and Range/Performance Conditions
Other codes indicate that a system or signal is not behaving as the control module expects. A range/performance code, for example, may occur even when a sensor continues to produce a signal. Diagnosis must determine why the measured or calculated value is implausible rather than automatically replacing the component named in the code.
Engine, Emissions, and Mechanical Conditions
Misfires, air or fuel-control problems, exhaust-system conditions, mechanical faults, and other engine-operating problems can also set DTCs or influence several monitored systems. One underlying problem may therefore contribute to multiple related codes.
If a misfire code is present, our How to Diagnose Engine Misfire: A Step-by-Step Guide explains how to move from the code and symptoms to targeted ignition, fuel, air-mixture, and mechanical checks.
Manufacturer-Specific Conditions
Not every diagnostic strategy is universal. Manufacturers may use different enabling criteria, sensor designs, control strategies, code definitions, and test procedures. Vehicle-specific service information is especially important when a generic code description does not provide enough diagnostic detail.
Step-by-Step Process to Read OBD-II Codes
Effectively reading OBD-II codes involves a systematic process to ensure accurate data for diagnosis.
Connect the Scan Tool and Retrieve Codes
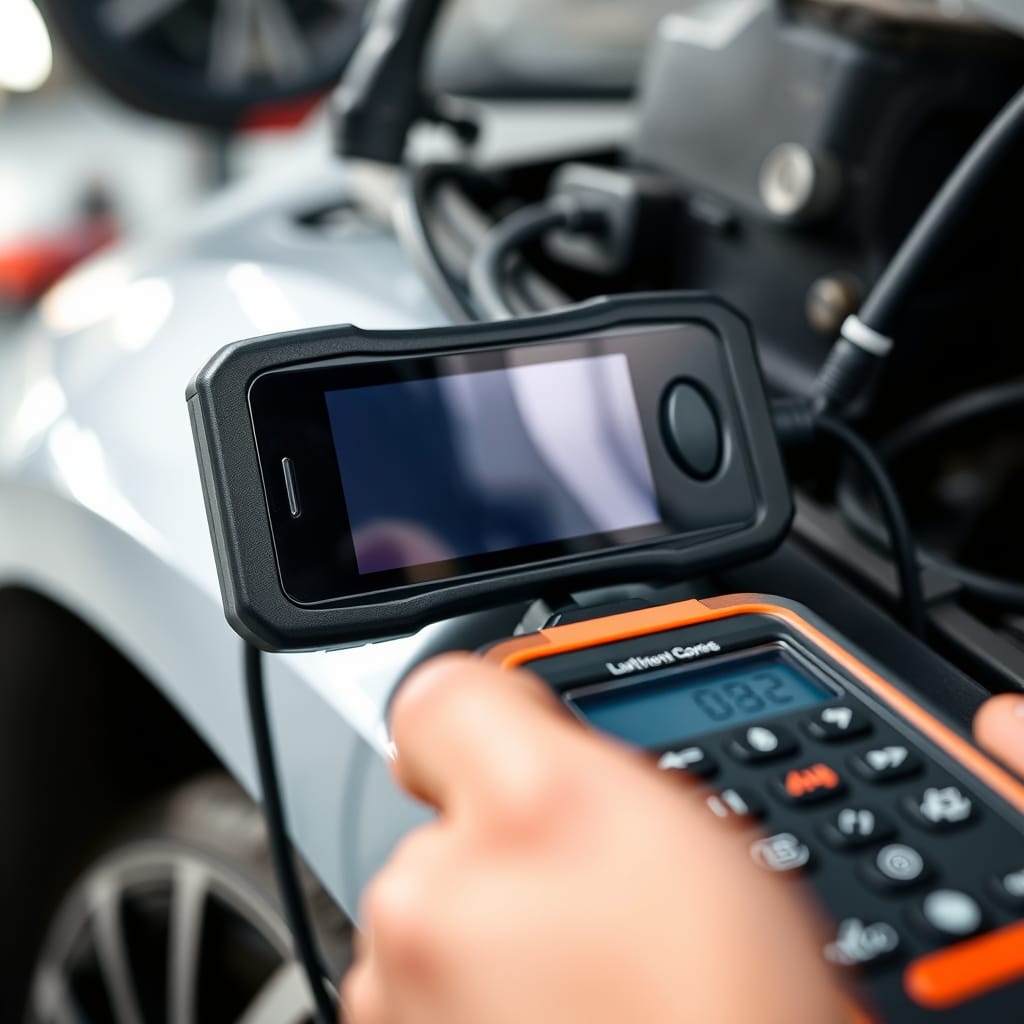
Locate the vehicle’s diagnostic connector, commonly found beneath or near the driver’s side of the dashboard, and connect a compatible scan tool. Follow the scanner and vehicle instructions for establishing communication; the required ignition or operating state can vary depending on the vehicle and the function being performed.
Retrieve and record all available DTCs before clearing anything. Where supported, note whether each code is stored, pending, permanent, current, history, or otherwise classified by the vehicle or scan tool. Also record which control module reported the code when that information is available.
Record Codes Before Interpreting Them
Write down the exact alphanumeric codes rather than relying only on the scanner’s short text description. A generic scanner description may simplify the manufacturer’s diagnostic definition. Look up the exact code using reliable service information and determine what condition the control module actually detected.
When several codes are present, do not assume that every code represents a separate failed component. Look for relationships between the codes, their status, freeze-frame information, symptoms, and the systems involved before deciding which diagnostic path to follow.
Review Freeze-Frame and Relevant Live Data
Before clearing codes, save available freeze-frame information. It may show engine speed, load, coolant temperature, vehicle speed, fuel-control information, or other parameters recorded when a monitored fault was detected. The available data varies by code and vehicle.
Live data can then help determine whether relevant sensor signals and system behavior are plausible under current operating conditions. Interpret values using vehicle-specific specifications and diagnostic strategy rather than universal numbers.
Diagnostic Steps for Troubleshooting Codes
Once you have the OBD-II codes, follow a structured diagnostic process to pinpoint the issue.
Use the Code to Choose the Next Diagnostic Step
First verify the complaint and compare it with the retrieved codes and available data. Inspect the system relevant to the detected condition for obvious problems such as damaged wiring, loose connectors, leaks, disconnected components, or evidence of recent repair work where applicable.
Then perform targeted tests based on what the code actually reports. Depending on the system, this may involve circuit testing, scan-data analysis, pressure or leak testing, mechanical checks, waveform analysis, or another manufacturer-specified procedure. Do not apply a generic multimeter test to every component or replace a part simply because its name appears in the DTC description.
For example, a range/performance code does not necessarily mean that the named sensor has failed. Our guide to P0101 Code: What It Means, Causes & How to Diagnose It explains how airflow data, intake conditions, wiring, and other factors can contribute to a code involving the MAF system.
The same principle applies to sensor-response codes. In our P0133 Code: What It Means, Causes and How to Diagnose It guide, a slow Bank 1 Sensor 1 response requires evaluation of sensor technology, wiring, exhaust conditions, mixture control, and related data before sensor replacement.
Diagnostic codes work best when combined with the actual symptom. For example, our guide on how to diagnose a car that won’t start first separates no-crank, crank-no-start, and starts-and-stalls conditions before using scan data and testing to narrow the cause.
Repair Only After Confirming the Cause
A DTC should guide diagnosis, not determine the repair by itself. Once inspection and testing confirm the underlying fault, repair that condition according to appropriate vehicle-specific procedures. This may involve repairing wiring or connectors, correcting a leak or mechanical problem, addressing another system fault, servicing a confirmed failed component, or performing another repair supported by the diagnostic evidence.
When Component Replacement Is Justified
Replace a component when testing or other reliable diagnostic evidence confirms that it is faulty—not merely because the component appears in the code description or because the code returned after being cleared. Follow manufacturer installation, programming, calibration, relearn, or initialization procedures where applicable.
Verify the Repair
After repairing the confirmed cause, clear DTCs when appropriate and reproduce the conditions associated with the original fault or follow the applicable monitor or drive-cycle procedure. Confirm that the code does not return, relevant data is plausible, and the original symptoms are resolved. Remember that readiness monitors may require additional operation after codes are cleared.
If the Check Engine light is illuminated but the vehicle appears to run normally, see Check Engine Light On But Car Runs Fine: What to Check for a symptom-focused diagnostic approach.
Common Mistakes When Reading Codes
Errors during code reading can lead to inaccurate diagnostics or overlooked issues.
Treating a Code as a Parts Diagnosis
One of the most common diagnostic mistakes is assuming that the component named in a DTC description must have failed. Codes report detected conditions. A sensor-related code may result from the sensor itself, its circuit, another system influencing its reading, or a condition that makes the signal implausible. Confirm the cause before replacing components.
Clearing Codes Too Early
Do not clear DTCs before recording the codes, their status, and available freeze-frame information. Clearing codes can erase useful diagnostic context and reset readiness monitors. A code that disappears after clearing has not necessarily been repaired; verification requires allowing the relevant system or monitor to operate again under appropriate conditions.
Knowing When to Seek Professional Help
Professional diagnosis is appropriate when the vehicle has serious drivability or safety symptoms, the required tests cannot be performed safely, specialized equipment is needed, or the diagnostic path involves systems such as airbags, ABS/stability control, high-voltage hybrid/EV components, advanced network communication, programming, or other manufacturer-specific procedures.
Complex or manufacturer-specific DTCs may require enhanced scan-tool access beyond generic OBD-II functions. A qualified technician with appropriate service information and equipment can perform targeted testing rather than replacing parts based solely on generic code descriptions.
Safety When Using Diagnostic Information
Park the vehicle securely before connecting diagnostic equipment. Keep tools, clothing, scan-tool cables, and test leads away from belts, pulleys, cooling fans, and other moving components when the engine is running; electric cooling fans may start unexpectedly. Follow manufacturer procedures before probing electrical circuits or disconnecting components.
Do not bypass safety systems or attempt high-voltage hybrid/EV diagnosis without appropriate training and equipment. If diagnostic work requires lifting the vehicle, use approved lifting points and properly rated support equipment—never work underneath a vehicle supported only by a jack.
Frequently Asked Questions
What does an OBD-II code tell me?
It tells you that a vehicle control system detected a particular condition. The code may identify a circuit, system, signal, or performance problem, but it usually does not prove which component failed.
How do I use an OBD-II scanner?
Connect a compatible scanner to the diagnostic connector and follow the scanner and vehicle instructions to establish communication. Retrieve and record the exact codes, their status, and available freeze-frame information before clearing anything.
Can one issue cause multiple OBD-II codes?
Yes. One underlying electrical, mechanical, air/fuel, communication, or other system problem can sometimes affect several monitored conditions and contribute to multiple DTCs. Diagnose relationships between the codes rather than assuming every code requires a separate part.
Should I clear codes before diagnosing?
No. Record the exact codes, their status, and available freeze-frame information first. Clearing codes can erase useful diagnostic evidence and reset readiness monitors.
Does a sensor code mean the sensor is bad?
No. A sensor-related code may result from the sensor, wiring or connectors, power or ground problems, another system affecting the sensor’s reading, or a signal that is implausible under the operating conditions. Test the system before replacing the sensor.
What are pending and permanent codes?
Code status provides additional diagnostic context. A pending code generally indicates that a monitored condition has been detected but may not yet have met the criteria required to command the warning light. Permanent DTCs are retained by the OBD system until the relevant monitor confirms that the fault is no longer present; they are not normally erased simply by clearing codes with a scan tool. Exact behavior can vary with the vehicle and applicable OBD implementation.
Final Checks
Learning how to read OBD2 codes means understanding both what a code tells you and what it does not. Start by retrieving and recording the exact DTCs, code status, and available freeze-frame information. Determine what condition each code reports, compare it with the vehicle’s symptoms and relevant live data, inspect the affected system, and perform targeted vehicle-specific tests.
Do not replace a component simply because it appears in a code description. Confirm the underlying fault, repair only what the evidence supports, and then allow the relevant system or monitor to operate again to verify that the code and original symptoms do not return.